Introduction
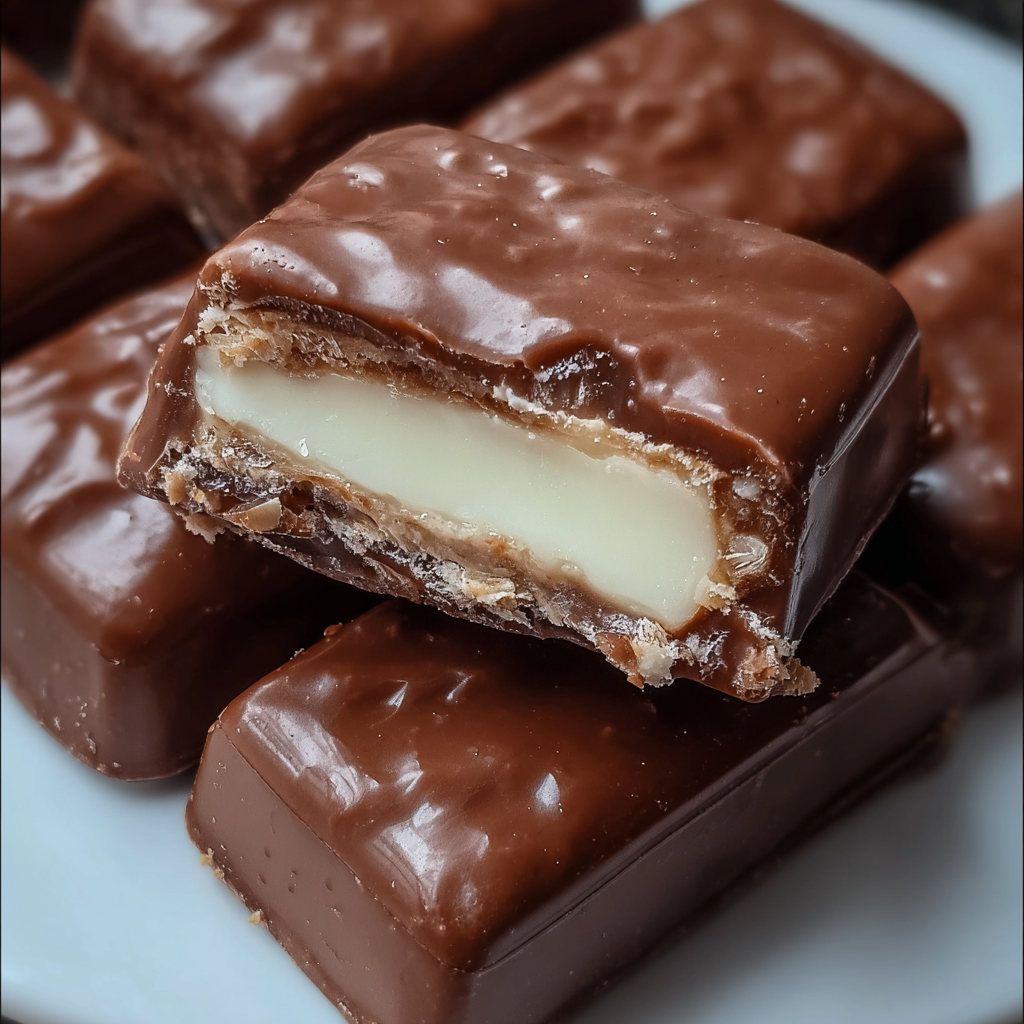
If you have ever enjoyed the blissful combination of coconut and chocolate, making homemade Bounty Chocolate Bars might just become your favorite confectionery adventure. This delightful treat takes the taste you love and transforms it into a rich, creamy bite that you can easily craft in your own kitchen.
Surprisingly simple to make, each layer is infused with coconut flavor, while the smooth chocolate coating adds an indulgent touch. With just a handful of ingredients, these bars are a wonderful way to satisfy your sweet tooth while adding a touch of creativity to your baking repertoire.
Ingredients
- 2 cups sweetened shredded coconut
The core of the Bounty Bar, shredded coconut provides the iconic chewy texture and rich tropical flavor. Sweetened variety enhances the dessert's sweetness, ensuring a candy bar that's distinctly delectable. - 1 cup sweetened condensed milk
This thick, creamy ingredient acts as the binding agent for the coconut, providing moisture and sweetness. The condensed milk helps to create a luscious filling that holds together without the need for additional binding agents. - 2 cups milk chocolate chips
The chocolate coating is essential for creating the signature taste of Bounty Bars. Milk chocolate adds a creamy sweetness that contrasts perfectly with the rich coconut filling, making each bite a delightful experience. - 1 tablespoon coconut oil
Coconut oil is added to the chocolate chips to help the mixture melt smoothly and create a shiny, even coating. It also enriches the chocolate flavor, further enhancing the tropical theme of these bars.
Directions & Preparation
Step 1: Prepare the coconut filling.
In a medium bowl, combine the shredded coconut and sweetened condensed milk. Mix well until all the coconut is coated and the mixture is sticky. This step is vital as it ensures an even distribution of moisture, which creates the perfect texture for the filling that will hold its shape once set and refrigerated.
Step 2: Form the coconut bars.
Scoop out portions of the coconut mixture and shape them into rectangular bars or bite-sized pieces. Place them on a lined baking sheet. This shaping step is important because it determines the final look and size of your bars. Keeping them uniform ensures that they cook evenly and presents a polished appearance.
Step 3: Chill the bars.
Refrigerate the formed bars for about 1 to 2 hours or until firm. Chilling allows the bars to set properly, making them easier to dip in chocolate later. If you skip this step, the bars may fall apart during coating, disrupting their enticing layers.
Step 4: Melt the chocolate and coconut oil.
In a microwave-safe bowl or double boiler, melt the chocolate chips and coconut oil until smooth and glossy. Stir frequently to prevent overheating. This melting process is crucial as it creates the velvety coating that encapsulates the coconut filling. Ensuring the chocolate is silky will contribute to the overall texture and taste of the bars.
Step 5: Dip the bars in chocolate.
Remove the coconut bars from the refrigerator and dip each one in the melted chocolate, ensuring they are fully covered. Use a fork to lift them out and gently shake off any excess chocolate. Properly coating the bars is key to achieving that delightful crunch when you take a bite. It also sets the stage for the beautifully contrasting flavors to shine through.
Step 6: Allow the bars to set.
Place the coated bars back onto the lined baking sheet and let them set at room temperature or refrigerate for another 30 minutes. This final setting step ensures that the chocolate is firm and adheres to the coconut filling, making the bars easy to handle. Rushing it may result in messy bars or chocolate that doesn't hold up.
Step 7: Serve and enjoy!
Once set, your homemade Bounty Chocolate Bars are ready to be served. Cut them into desired sizes if necessary and enjoy this satisfying treat. Their rich, creamy mixture and crunchy coating offer a delightful indulgence that rivals any store-bought version!

Elevating Flavor with Add-Ins
While the classic coconut and chocolate pairing is irresistible, consider elevating your Bounty Chocolate Bars by adding flavors such as almond extract or a touch of vanilla. Experimenting with these flavors in the coconut filling can create a more complex profile, making your bars reminiscent of other beloved treats, such as almond joys.
Transforming Texture with Nuts
For those who crave crunch, adding chopped nuts to the coconut mixture can introduce a delightful texture contrast. Almonds or pistachios can bring a nutty richness that complements the sweetness of the coconut and chocolate, adding both crunch and depth to your homemade bars.
Vegan Variations for All
If you're looking for a vegan version of Bounty Bars, opt for dark chocolate and replace the sweetened condensed milk with a plant-based alternative, like coconut cream or cashew cream. This makes for an equally delectable treat that everyone can enjoy, showcasing how versatile and inclusive dessert recipes can be.
FAQs
What can I do if my coconut filling is too sticky?
If your coconut filling is excessively sticky, consider adding a bit more shredded coconut to balance the moisture from the condensed milk. This extra coconut can help achieve a better texture for shaping.
Can I use dark chocolate instead of milk chocolate?
Absolutely! Dark chocolate can be used for a richer, slightly less sweet taste. This substitution will give your bars a sophisticated flavor profile and pairs well with the coconut.
Why did my chocolate coating not set properly?
Several factors can affect setting, including too much moisture or humidity in the air. Ensure your bars were adequately chilled before coating and try to work in a controlled environment. If the coating is still too soft, you may need to refrigerate them longer.
What should I do if my chocolate is too thick to coat the bars?
If your melted chocolate is too thick, add a little more coconut oil while melting, which will help to loosen it. Thin chocolate is essential for an even and smooth coating over the bars.
Can I make a different size of bars?
Yes! You can adjust the size of your bars to suit your preference. Just keep in mind that smaller bars may require slightly less chilling time, while larger ones may need more time to firm up properly.
What happens if I over-melt the chocolate?
Over-melting can cause the chocolate to seize, resulting in a grainy texture. If this occurs, try adding a few drops of oil or cocoa butter to salvage it and smooth it out, being careful to reheat gently.
Conclusion
Creating your own Bounty Chocolate Bars at home is not only achievable but also a fun way to personalize a beloved treat. You’ll find that by mastering the balance of coconut and chocolate, these bars can delight friends and family alike.
Next time you crave something sweet, try making these bars. With their rich flavors and simple preparation, they are sure to impress anyone lucky enough to enjoy one.
Recipe Card

Delight in Homemade Bounty Chocolate Bars
Ingredients
Method
- Prepare the coconut filling.
- Form the coconut bars.
- Chill the bars.
- Melt the chocolate and coconut oil.
- Dip the bars in chocolate.
- Allow the bars to set.
- Serve and enjoy!
Notes
Additional serving suggestions: pair with a crisp salad, garlic bread, or roasted seasonal vegetables for balance.
For make-ahead, prep components separately and assemble just before heating to preserve texture.
Taste and adjust with acid (lemon/vinegar) and salt right at the end to wake up flavors.