Introduction
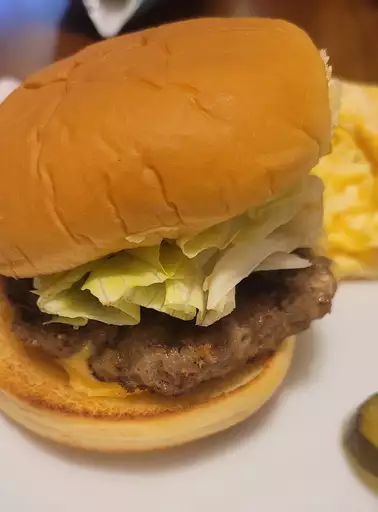
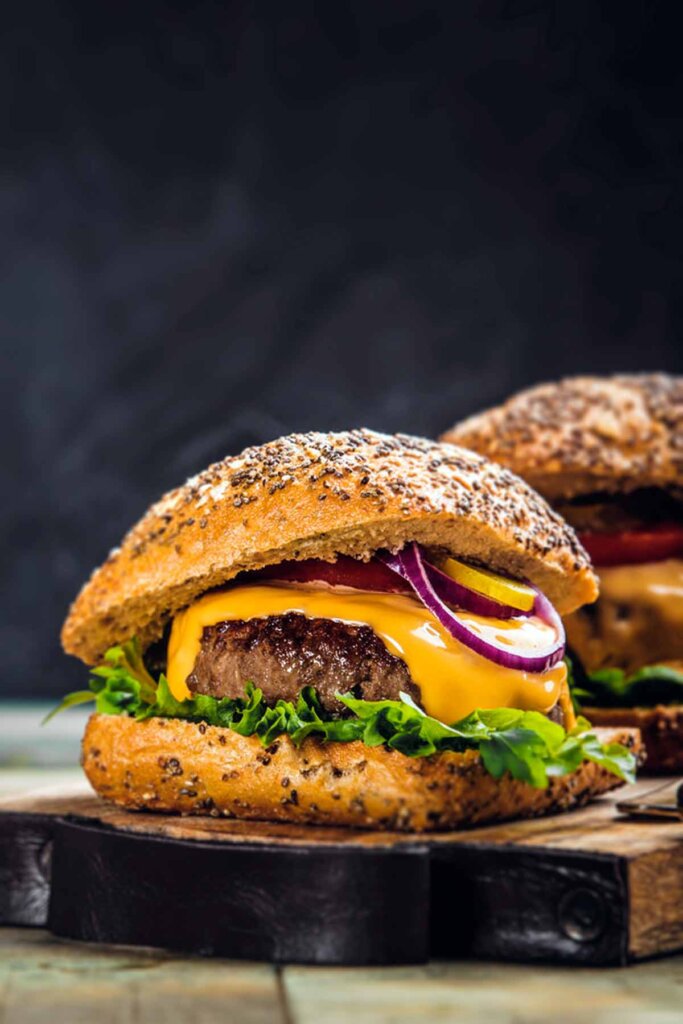
Craving a juicy, flavorful cheeseburger that beats fast-food joints? This Classic Cheeseburger recipe brings together a juicy beef patty, melted cheese, crisp veggies and soft buns — delivering that satisfying crunch and savory bite in every mouthful. With this recipe, you get a homemade burger that’s customizable, simple to prepare, and perfect for a cozy dinner or weekend grilling.
Ingredients (makes 2 cheeseburgers)
- 2 hamburger buns (preferably soft sandwich buns or brioche)
- 300 g ground beef (about 150 g per patty; 80/20 lean-to-fat ratio recommended)
- Salt – ½ teaspoon
- Ground black pepper – ¼ teaspoon
- 2 slices of cheese (cheddar, American, or your preferred melting cheese)
- 1 tablespoon butter or oil (for toasting buns and cooking patties)
- 4 lettuce leaves (washed and dried)
- 1 medium tomato, sliced into 4 slices
- 4–6 thin slices of onion (red or white)
- Condiments of choice: e.g., 2 tablespoons ketchup, 1 tablespoon mustard, mayonnaise (optional)
(Optional for extra flavor): pickles, sliced jalapeños, bacon, caramelized onions, or your favorite burger sauce Classic Cheeseburger Recipe.
Step-by-Step Instructions Classic Cheeseburger Recipe
Prepare the Patties
- Divide the 300 g ground beef into two equal portions (about 150 g each).
- Gently shape each portion into a patty — roughly 1.5–2 cm thick, slightly wider than your bun (they’ll shrink as they cook).
- Season both sides generously with salt and ground black pepper.
Toast the Buns (Optional but Recommended)
- Heat a skillet or frying pan over medium heat and add ~1 tablespoon butter (or oil).
- Slice the buns in half, place them cut-side down on the skillet, and toast for about 1 minute or until lightly golden. Set aside.
Cook the Patties Classic Cheeseburger Recipe
- Using the same pan (or a clean one), heat over medium-high heat. Add a little oil or butter if the pan is dry.
- Place the patties in the pan. Cook for about 3–4 minutes on the first side — do not press down (this keeps them juicy).
- Carefully flip the patties and cook another 3–4 minutes (for medium doneness).
- In the last minute of cooking, place a slice of cheese on each patty. Cover the pan (with a lid) to help the cheese melt evenly Classic Cheeseburger Recipe.
Assemble the Cheeseburger
- On the bottom half of each toasted bun, layer: lettuce leaves → tomato slice(s) → onion slices → cheese-topped beef patty.
- Add condiments (ketchup, mustard, mayo) on the top bun as desired.
- Place the top bun — press gently to bring it all together Classic Cheeseburger Recipe.
Serve Immediately
Serve your cheeseburgers hot, with optional sides like fries, salad, or pickles.
Tips & Variations
- Make it leaner — use 90/10 ground beef (less fat) to cut calories while still retaining flavor.
- Cheese swaps — try Swiss, pepper jack, gouda, or blue cheese — each gives a unique flavor twist.
- Bun alternatives — for a gluten-free or lower-carb version, use lettuce wraps, portobello mushrooms, or gluten-free buns.
- Extra toppings — bacon, caramelized onions, grilled mushrooms, avocado, or pickled jalapeños make delicious upgrades.
- Sauce ideas — a homemade burger sauce (mayo + ketchup + a dash of mustard + a pinch of smoked paprika) adds depth.
- Make ahead — you can shape and season patties ahead of time; store covered in the fridge up to 24 hours before cooking.
- Storage tips — if you have leftovers (rare), wrap tightly in foil or plastic wrap and refrigerate; consume within 1 day. Buns stored separately stay fresher longer Classic Cheeseburger Recipe.
Nutritional Information (approximate per 1 cheeseburger)
| Nutrient | Amount per serving* |
|---|---|
| Calories | ~ 320 kcal |
| Protein | ~ 17–18 g |
| Total Fat | ~ 14–15 g |
| Carbohydrates | ~ 28–32 g |
* Based on typical plain cheeseburger data (single patty + bun + cheese + basic toppings) FatSecret+2FatSecret+2
Because the exact values depend on bun type, fat content of beef, cheese slice size, and condiments — your homemade burger may vary slightly Classic Cheeseburger Recipe.
Why This Cheeseburger Stands Out
- Juicy & Balanced: Using an 80/20 beef blend ensures a juicy, flavorful patty that’s not too greasy.
- Melty Cheese & Fresh Veggies: The combination of melted cheese with crisp lettuce, fresh tomato and onion adds texture and flavor layers.
- Customizable & Simple: Easy to adapt — you can go classic, gourmet, or lighter, depending on your preference.
- Better Than Fast Food: You control ingredients — no hidden preservatives, reduced sodium, and fresher produce.
Table of Contents
Table of Contents
Related Recipes You Might Like Classic Cheeseburger Recipe
Q: Why does my burger sometimes shrink or puff up while cooking?
That happens because meat naturally contracts when heated, and if the patty is formed too tightly or is only slightly wider than the bun, it shrinks. Also, without counter-measures, patties tend to puff up in the center. To avoid this:
- Form patties slightly larger than your buns.
- Press a small shallow indentation (a “dimple”) in the center of each patty before cooking. This helps it stay flatter and more bun-friendly. Number Analytics+1
Questions Classic Cheeseburger Recipe
Q: Should I press or mash the patty down while it cooks?
No — you generally want to avoid pressing or pressing down on the patty while it cooks. Pressing squeezes out the juices, which leads to a drier, less flavorful burger. Instead, place the patty on the hot grill or pan and let it cook undisturbed until the crust forms; flip only once. Tasting Table+2thefoodnearme.com+2
Q: When should I add the cheese — at the start or end of cooking?
For best results, add the cheese in the last minute of cooking, just after flipping the patty — then cover the pan or close the grill lid so the heat melts the cheese evenly. This ensures the cheese is gooey and melted, rather than cold or rubbery. BurgerFi+2thefoodnearme.com+2
Q: How do I know when the burger is cooked safely?
Because burgers use ground meat (not whole cuts), you must ensure they’re cooked all the way through — not just seared on the outside. The inside should be steaming hot, with no pink center and juices running clear. Food Standards Agency+1
To minimize risks, don’t leave raw meat out too long; store it cold (at ≤ 5 °C) until cooking. Food Standards Agency
Q: How should I store leftover burger patties or assembled burgers?
- Cooked patties: refrigerate within 2 hours, and consume within 3–4 days. Properly wrapped patties can also be frozen for several months. Consumer Reports+1
- Reheating: Ensure the patty reaches a safe internal temperature again (165 °F / about 74 °C) before eating. Consumer Reports+1
Q: Can I customize toppings, buns, or meat type for different dietary needs?
Absolutely! One of the strengths of a homemade cheeseburger is flexibility:
- Use different cheeses (cheddar, Swiss, pepper-jack, etc.) for unique flavors. CookingUpdate+1
- Swap bun types — brioche, potato rolls, whole-grain buns — or even go bunless (lettuce wrap) for lower-carb diets.
- Add toppings like bacon, grilled mushrooms, avocado, caramelized onions, or pickles for variety.
- For leaner burgers, you may choose higher-lean meat blends — but expect slightly less juiciness.
Conclusion
A well-made cheeseburger is more than just a quick meal — it’s a comforting, customizable classic that brings together juicy beef, melted cheese, crisp vegetables, and soft toasted buns in every bite. By following this recipe, you get full control over the ingredients, flavor, texture, and freshness, ensuring a result that’s far more satisfying than any fast-food option Classic Cheeseburger Recipe.
Whether you enjoy it plain and simple or loaded with toppings, this homemade cheeseburger gives you the perfect foundation for creativity. With the right cooking techniques, a balanced blend of seasonings, and thoughtful assembly, you’ll have a delicious and reliable recipe you can return to again and again.
For nutrition details and burger-building guidelines, a helpful reference is the cheeseburger nutrition overview from Verywell Fit Classic Cheeseburger Recipe.
PrintClassic Cheeseburger Recipe — The Best Homemade Cheeseburger

Craving a juicy, flavorful cheeseburger that beats fast-food joints? This Classic Cheeseburger recipe brings together a juicy beef patty, melted cheese, crisp veggies and soft buns — delivering that satisfying crunch and savory bite in every mouthful. With this recipe, you get a homemade burger that’s customizable, simple to prepare, and perfect for a cozy dinner or weekend grilling.
Ingredients
-
2 hamburger buns (preferably soft sandwich buns or brioche)
-
300 g ground beef (about 150 g per patty; 80/20 lean-to-fat ratio recommended)
-
Salt – ½ teaspoon
-
Ground black pepper – ¼ teaspoon
-
2 slices of cheese (cheddar, American, or your preferred melting cheese)
-
1 tablespoon butter or oil (for toasting buns and cooking patties)
-
4 lettuce leaves (washed and dried)
-
1 medium tomato, sliced into 4 slices
-
4–6 thin slices of onion (red or white)
-
Condiments of choice: e.g., 2 tablespoons ketchup, 1 tablespoon mustard, mayonnaise (optional)
(Optional for extra flavor): pickles, sliced jalapeños, bacon, caramelized onions, or your favorite burger sauce.
Instructions
Prepare the Patties
-
Divide the 300 g ground beef into two equal portions (about 150 g each).
-
Gently shape each portion into a patty — roughly 1.5–2 cm thick, slightly wider than your bun (they’ll shrink as they cook).
-
Season both sides generously with salt and ground black pepper.
2. Toast the Buns (Optional but Recommended)
-
Heat a skillet or frying pan over medium heat and add ~1 tablespoon butter (or oil).
-
Slice the buns in half, place them cut-side down on the skillet, and toast for about 1 minute or until lightly golden. Set aside.
3. Cook the Patties
-
Using the same pan (or a clean one), heat over medium-high heat. Add a little oil or butter if the pan is dry.
-
Place the patties in the pan. Cook for about 3–4 minutes on the first side — do not press down (this keeps them juicy).
-
Carefully flip the patties and cook another 3–4 minutes (for medium doneness).
-
In the last minute of cooking, place a slice of cheese on each patty. Cover the pan (with a lid) to help the cheese melt evenly.
4. Assemble the Cheeseburger
-
On the bottom half of each toasted bun, layer: lettuce leaves → tomato slice(s) → onion slices → cheese-topped beef patty.
-
Add condiments (ketchup, mustard, mayo) on the top bun as desired.
-
Place the top bun — press gently to bring it all together.
5. Serve Immediately
Serve your cheeseburgers hot, with optional sides like fries, salad, or pickles.