Introduction
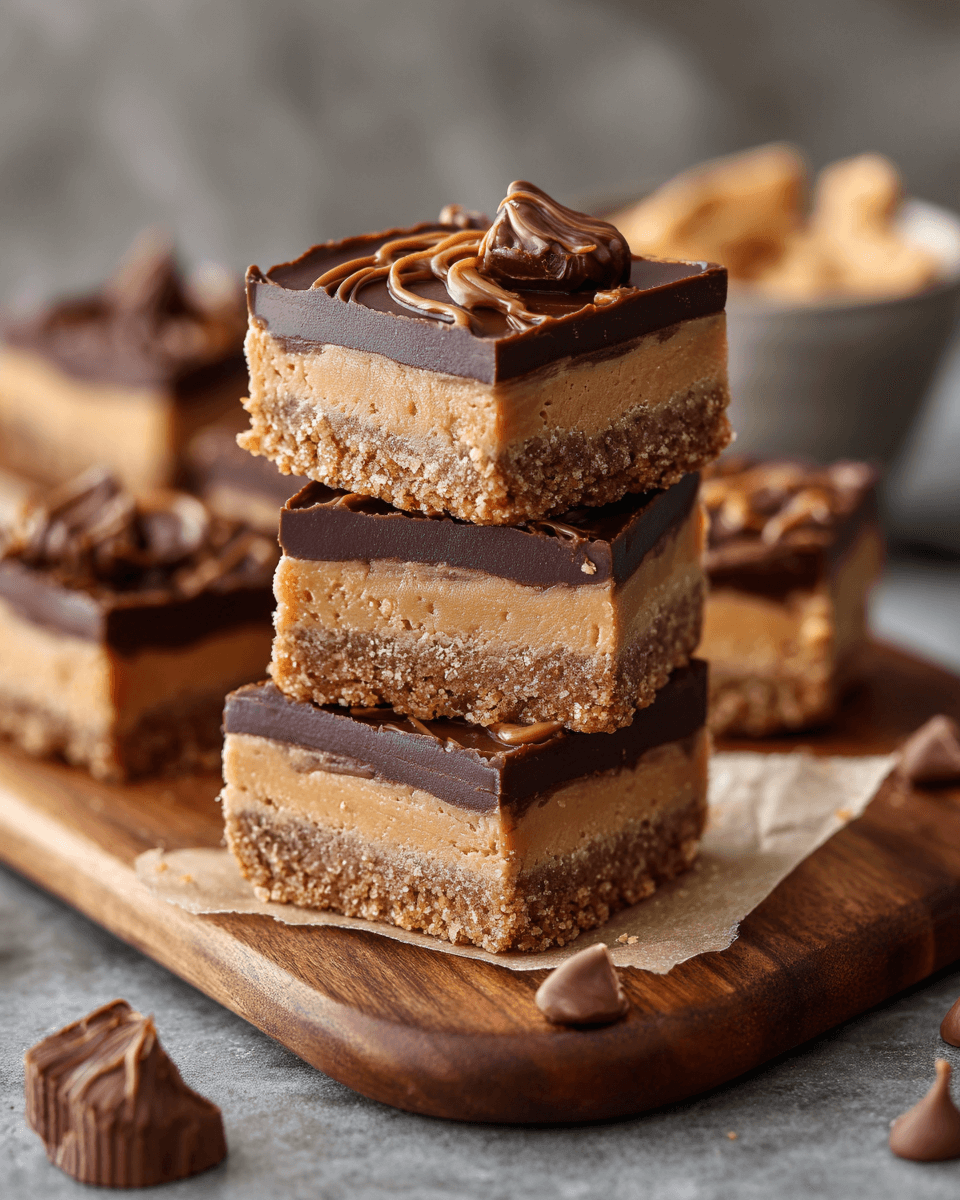
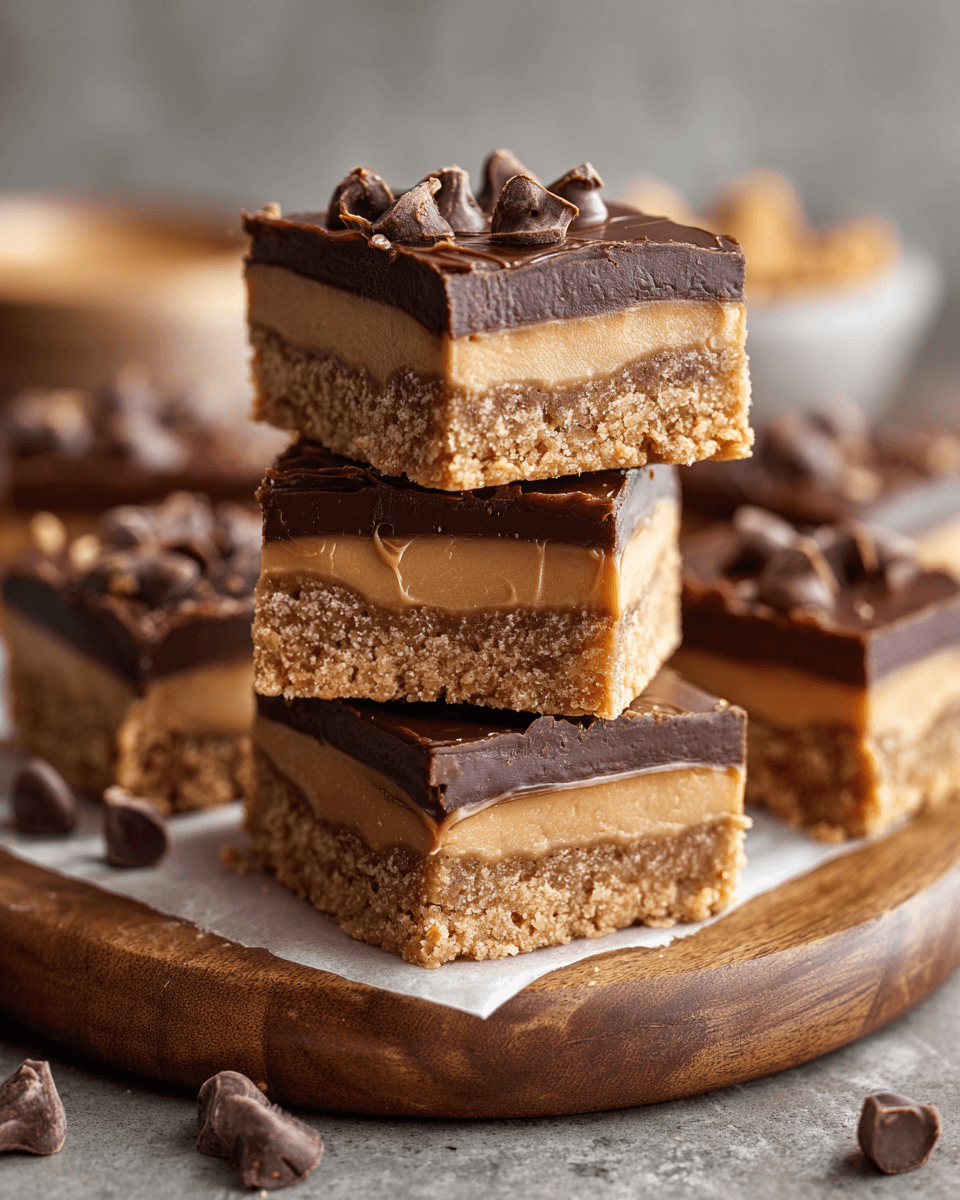
There's something magical about the combination of peanut butter and chocolate, and when those flavors come together in bar form, it's a treat you won't forget. Peanut Butter Blossom Bars combine the rich, creamy texture of peanut butter with a soft, chewy base topped with delightful chocolate kisses, making them a perfect dessert for any occasion.
These bars are not just easy to make; they also offer a wonderful alternative to traditional cookies. They're baked in a single pan, which means less mess and cleanup. Plus, their vibrant presentation makes them ideal for parties, potlucks, or cozy family gatherings.
As you prepare to make your own batch, gather your ingredients and follow along with the process. You’ll soon be indulging in these decadent bars that are sure to satisfy your sweet tooth!
Ingredients
- 1 cup smooth peanut butter
Peanut butter serves as the star ingredient, adding richness and flavor while also providing a creamy texture that binds the bars together. - 1/2 cup granulated sugar
Granulated sugar sweetens the mixture, balancing the nutty flavor of peanut butter, and contributes to the bars' texture by enhancing the overall chewiness. - 1/2 cup brown sugar
Brown sugar adds a deeper, more complex sweetness and moisture due to its molasses content, ensuring the bars remain soft and chewy. - 1 large egg
The egg acts as a binding agent, helping to incorporate all the ingredients together while also giving the bars structure. - 1 teaspoon vanilla extract
Vanilla extract enhances the overall flavor profile, complementing the peanut butter with a subtle warmth. - 1 teaspoon baking soda
Baking soda provides leavening, helping the bars rise slightly as they're baked, ensuring a softer texture without being overly dense. - 1/4 teaspoon salt
Salt enhances the flavors in the bars, balancing the sweetness and bringing out the richness of the peanut butter. - 24 chocolate kisses, unwrapped
Chocolate kisses are the perfect finishing touch, adding a burst of chocolatey goodness that contrasts beautifully with the peanut butter base.
Directions & Preparation
Step 1: Preheat your oven to 350°F (175°C) and prepare a 9×9 inch baking pan.
Preheating the oven ensures that your Peanut Butter Blossom Bars bake evenly right from the start. Preparing your baking pan by greasing it or lining it with parchment paper will prevent the bars from sticking, allowing for easy removal when it’s time to serve. This initial preparation also streamlines your workflow as you gather and measure your ingredients.
Step 2: In a large mixing bowl, combine the peanut butter, granulated sugar, and brown sugar.
Mixing these ingredients together ensures that the sugars dissolve into the peanut butter, creating a smooth base while also aerating the mixture slightly for a lighter texture. Using room temperature peanut butter helps achieve a well-blended mixture, so plan accordingly before starting.
Step 3: Add the egg and vanilla extract, mixing until fully incorporated.
Incorporating the egg and vanilla at this stage is crucial for achieving a well-combined batter. The egg provides moisture and binding, while the vanilla enhances the overall flavor. Mix until just combined; overmixing can lead to a denser final product.
Step 4: Sprinkle the baking soda and salt into the mixture and mix until combined.
Adding the baking soda and salt at this point ensures that they are evenly distributed throughout the batter. Baking soda needs to be activated by the moisture in the mixture and the heat of the oven, allowing it to help the bars rise properly while the salt enhances the sweetness from the sugars.
Step 5: Spread the batter evenly in the prepared baking pan.
When spreading the batter, aim for an even thickness throughout the pan. This promotes uniform baking, leading to bars that are consistent in texture and don’t have burnt edges. Use a spatula or the back of a spoon to smooth the surface.
Step 6: Bake for 18-22 minutes until lightly golden.
Baking for the right amount of time is essential. You want to remove the bars when they are slightly underbaked, as they will continue to cook slightly after removal. Look for a light golden hue on the edges; the center might still appear soft but should not be gooey.
Step 7: Remove from the oven and immediately press chocolate kisses into the center of each bar.
Pressing the chocolate kisses into the warm bars allows them to melt slightly and adhere better to the batter. This step not only adds a delicious chocolatey topping but also creates an inviting presentation as the kisses melt into the warm peanut butter base.
Step 8: Allow the bars to cool in the pan for at least 15 minutes before slicing.
Cooling the bars before slicing is essential for maintaining their structure. If you cut them too soon, they might fall apart due to their soft texture. Letting them cool also allows the chocolate kisses to set up slightly, making for cleaner cuts.
Step 9: Slice into squares and serve.
By slicing the bars into squares, you create bite-sized treats that are easy to share. The even cuts will help ensure that each piece has a delicious balance of peanut butter and chocolate kiss. Enjoy these delightful dessert bars with family and friends, or save some for later!
The Joy of a One-Pan Dessert
One of the best aspects of Peanut Butter Blossom Bars is their simplicity. By mixing all the ingredients in one bowl and baking them in a single pan, you minimize both preparation and clean-up time. This makes these bars a stress-free option for busy bakers who still want to create something special. Additionally, they're great for those who prefer the ease of bar desserts over more labor-intensive cookies.
Customizing Your Blossom Bars
While the traditional recipe is a crowd-pleaser, customizing your Peanut Butter Blossom Bars can elevate them even more. Consider folding in additional ingredients such as chopped nuts, chocolate chips, or even a sprinkle of sea salt on top to enhance the flavor profile. By adding a personal touch, you can make these bars uniquely yours, ensuring they'll be a favorite in any dessert lineup.
Perfect Pairings for Every Occasion
Peanut Butter Blossom Bars are versatile and can complement various occasions. Their rich, sweet flavor pairs wonderfully with a glass of cold milk, making them a nostalgic treat for children and adults alike. For a more sophisticated touch, serve them alongside a robust coffee or a dessert wine, highlighting the sweet and salty notes of the bars. Regardless of the occasion, these bars are sure to impress and satisfy any sweet craving.
FAQs
What can I do if the bars are too crumbly?
If your Peanut Butter Blossom Bars are too crumbly, it may be due to too much dry ingredient. You can try adding a little more peanut butter or another egg to bring more moisture back into the mixture.
Can I use crunchy peanut butter instead of smooth?
Yes, using crunchy peanut butter will give your bars a delightful texture and added crunch, which can enhance the overall experience.
What if I forget to add the egg?
If you forget the egg, your bars will likely be crumbly and less cohesive. You may want to mix another egg into the batter if it hasn’t been baked yet.
How can I make the bars more chocolatey?
For a more chocolatey flavor, consider adding chocolate chips into the batter before baking, in addition to the chocolate kisses on top.
Should I adjust baking time if using a larger pan?
Yes, if you use a larger pan, reduce the baking time since the batter will be spread thinner and cook faster. Keep an eye on it to prevent overbaking.
What to do if the bars taste too bland?
If the bars taste too bland, consider adding a touch more salt or vanilla to enhance the flavors. A sprinkle of sea salt on top before serving can also elevate the sweetness.
Conclusion
Peanut Butter Blossom Bars are a delightful treat that brings together the comforting flavors of peanut butter and chocolate in a simple, crowd-pleasing format. Their ease of preparation and customization options make them an ideal choice for any baking novice or seasoned cook.
With just a few ingredients and minimal effort, you can create a delicious dessert that is sure to impress friends and family alike. So gather your supplies, fire up the oven, and enjoy the sweet satisfaction of homemade Peanut Butter Blossom Bars!
Recipe Card

Delicious Peanut Butter Blossom Bars for Every Occassion
Ingredients
Method
- Preheat your oven to 350°F (175°C) and prepare a 9x9 inch baking pan.
- In a large mixing bowl, combine the peanut butter, granulated sugar, and brown sugar.
- Add the egg and vanilla extract, mixing until fully incorporated.
- Sprinkle the baking soda and salt into the mixture and mix until combined.
- Spread the batter evenly in the prepared baking pan.
- Bake for 18-22 minutes until lightly golden.
- Remove from the oven and immediately press chocolate kisses into the center of each bar.
- Allow the bars to cool in the pan for at least 15 minutes before slicing.
- Slice into squares and serve.
Notes
Additional serving suggestions: pair with a crisp salad, garlic bread, or roasted seasonal vegetables for balance.
For make-ahead, prep components separately and assemble just before heating to preserve texture.
Taste and adjust with acid (lemon/vinegar) and salt right at the end to wake up flavors.