Introduction
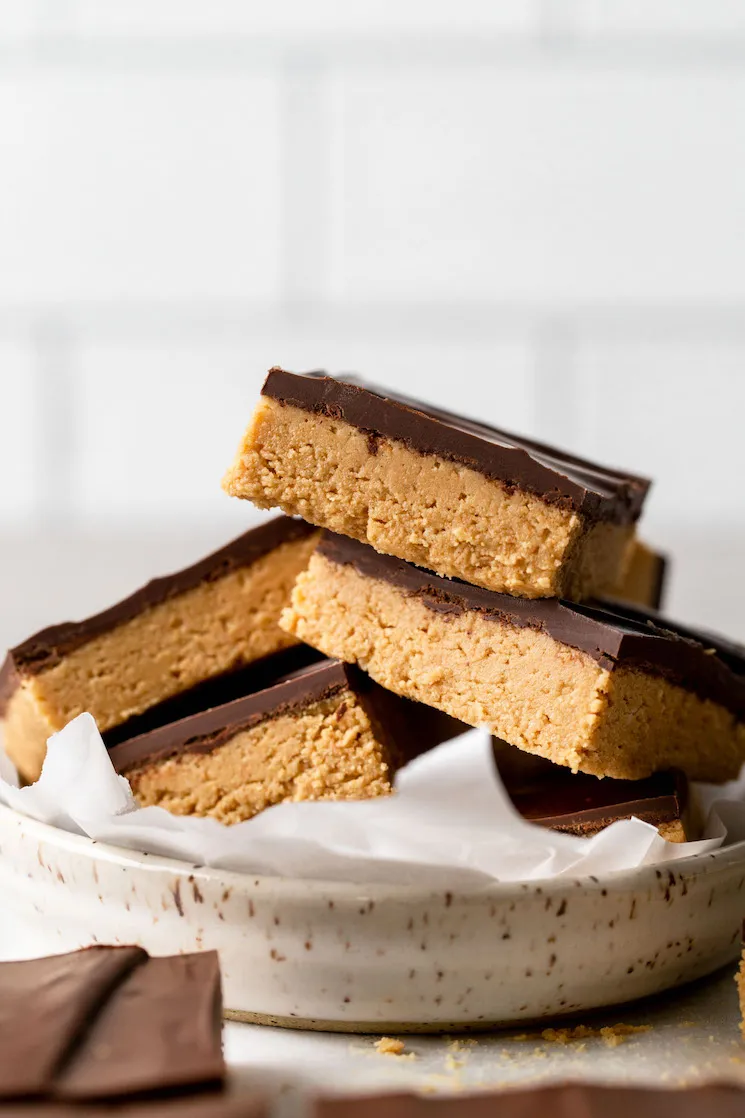
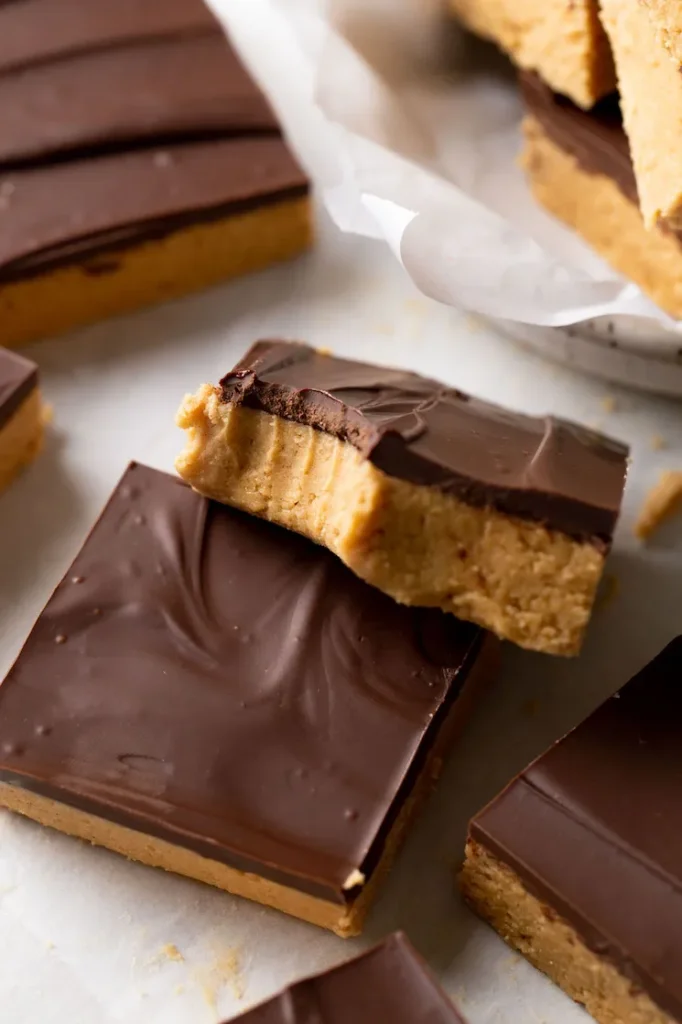
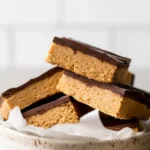
Is there any flavor combination more iconic than chocolate and peanut butter? These No-Bake Chocolate Peanut Butter Bars are the ultimate easy dessert, featurng three distinct layers of pure bliss. Imagine a crisp, peanutty base, a creamy peanut butter center, and a smooth, rich chocolate topping—all coming together in one unforgettable bite.
Did you know that the first chocolate and peanut candy bars emerged in the early 20th century, with Reese’s Peanut Butter Cups debuting in 1928? This recipe captures that timeless magic in a simple, sliceable bar.
It’s special because it requires zero baking, uses just a handful of pantry staples, and comes together in about 20 minutes of active time.
It’s a fantastically family-friendly project that kids can help with, from crushing the graham crackers to pressing the layers. If you loved our No-Bake Cheesecake Jars, you’ll be equally obsessed with these rich, layered bars.
Get ready to create the easiest, most delicious No-Bake Chocolate Peanut Butter Bars you’ll ever make!
What is No-Bake Chocolate Peanut Butter Bars?
So, what’s the story behind this wonderfully descriptive name? Is it candy? Is it a bar? Is it magic?
The name tells you everything you need for success. It’s a layered dessert with chocolate and peanut butter that requires no oven!
But how do they hold their shape? The magic is in the refrigerator. It perfectly sets the layers into a sliceable treat.
I once brought a batch to a summer barbecue. A guest declared after one bite, “These are better than any store-bought candy bar!”
They say the way to a person’s heart is through their stomach. A homemade pan of these decadent bars is a surefire path to success.
Why not grab a bowl and see for yourself?
Table of Contents
Why You’ll Love This No-Bake Chocolate Peanut Butter Bars:
You are going to be absolutely obsessed with this recipe, and here’s exactly why. First and foremost, the main highlight is its incredible three-layer texture and foolproof method. We’re talking about a dessert with a satisfyingly crunchy base, a velvety-smooth middle, and a firm, snappy chocolate top. It’s the kind of no-fuss recipe that delivers a seriously impressive result with minimal effort and no heat required.
Secondly, let’s talk about the fantastic cost-saving benefit. A package of gourmet peanut butter cups or candy bars can add up quickly. Making a whole pan of these at home for a fraction of the cost means you can satisfy your sweet tooth anytime, and they’re perfect for parties, potlucks, or edible gifts No-Bake Chocolate Peanut Butter Bars.
Finally, the simple, high-quality ingredients are what make them so special. Using real peanut butter, good chocolate, and a touch of salt creates a depth of flavor that far surpasses anything you can buy. If you enjoy the no-bake simplicity of our Rice Krispie Treats, you’ll love this more indulgent, layered cousin. Ready to make a dessert that everyone will beg you to make again? Let’s get started!
How to Make No-Bake Chocolate Peanut Butter Bars:
● Quick Overview
This is the easiest, most satisfying no-bake dessert you can make. It requires just 20 minutes of active prep for a result that is rich, creamy, crunchy, and deeply chocolatey. The total time, including chilling, is about 3 hours.
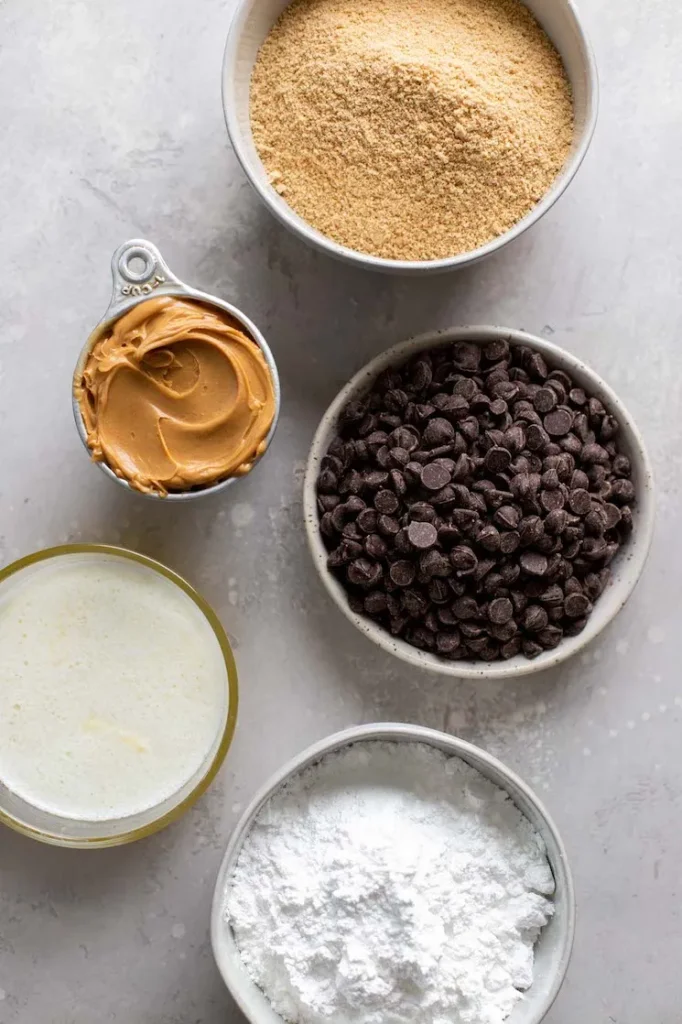
Ingredients for No-Bake Chocolate Peanut Butter Bars
For the Crust:
- 1 ½ cups graham cracker crumbs
- ½ cup unsalted butter, melted
- 1 cup powdered sugar
- 1 cup creamy peanut butter
For the Peanut Butter Layer:
- 1 cup creamy peanut butter
- ½ cup unsalted butter, softened
- 1 ½ cups powdered sugar
- 1 teaspoon vanilla extract
For the Chocolate Topping:
- 1 ½ cups semi-sweet chocolate chips
- 2 tablespoons creamy peanut butter
Step-by-Step Instructions
- Line Your Pan: Start by lining an 8×8 or 9×9 inch baking pan with parchment paper, leaving an overhang on two sides for easy removal.
- Make the Crust: In a medium bowl, combine the graham cracker crumbs, 1 cup of powdered sugar, and 1 cup of peanut butter. Pour in the ½ cup of melted butter and stir until the mixture is fully combined and resembles wet sand.
- Press the Crust: Transfer the crust mixture to your prepared pan. Use the bottom of a measuring cup or a glass to press it firmly and evenly into the bottom of the pan.
- Create the Peanut Butter Layer: In a separate bowl (or using the same one, cleaned), beat the softened ½ cup of butter and 1 cup of peanut butter together until smooth. Gradually add the 1 ½ cups of powdered sugar and vanilla extract, and beat until a thick, spreadable frosting forms No-Bake Chocolate Peanut Butter Bars.
- Spread the Middle Layer: Carefully spread the peanut butter filling over the crust layer, smoothing it out into an even layer.
- Make the Chocolate Topping: In a microwave-safe bowl, combine the chocolate chips and 2 tablespoons of peanut butter. Microwave in 30-second intervals, stirring well after each, until the mixture is completely melted and smooth.
- Top and Chill: Pour the melted chocolate over the peanut butter layer and spread it evenly to the edges. Gently tap the pan on the counter to remove any air bubbles.
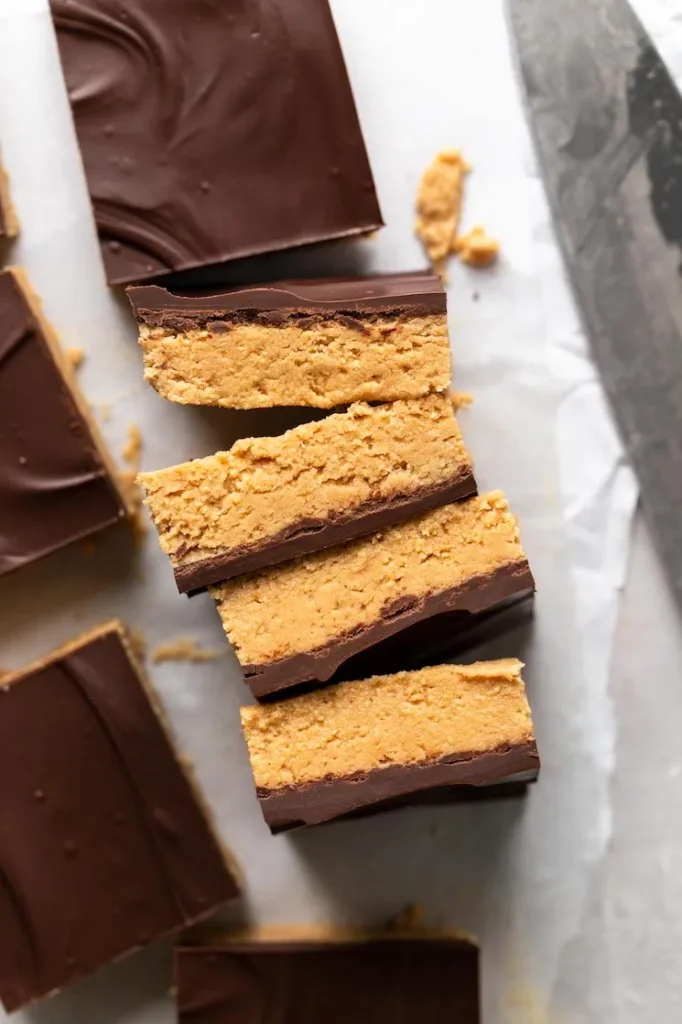
- Set and Serve: Refrigerate the bars for at least 2-3 hours, or until the chocolate top is completely firm. Use the parchment paper to lift the entire block out of the pan onto a cutting board. Use a sharp knife to slice into squares. For cleanest cuts, you can warm the knife under hot water and dry it quickly before each slice No-Bake Chocolate Peanut Butter Bars.
What to Serve No-Bake Chocolate Peanut Butter Bars With
These bars are rich and perfect on their own, but they can be part of a fabulous dessert spread!
- A Cold Glass of Milk: The classic, essential pairing to cut through the richness.
- Vanilla Ice Cream: Crumble a bar over a scoop for an incredible sundae.
- Coffee: A bitter cup of coffee provides the perfect contrast to the sweet, rich bars.
- Fresh Fruit: Serve with fresh strawberries or banana slices to add a fresh element.
Top Tips for Perfecting No-Bake Chocolate Peanut Butter Bars
- Press the Crust Firmly: A well-compacted crust is essential for bars that hold their shape when sliced. Really press it down hard!
- Use Quality Chocolate: The chocolate topping is the star, so using a chocolate you enjoy eating will make a huge difference in the final flavor.
- Let Them Set Completely: Patience is key! Allowing the bars to chill for the full time ensures clean, perfect slices. Rushing this step will result in a messy, gooey cutting experience.
- Add Sea Salt: For a gourmet touch, sprinkle a little flaky sea salt over the melted chocolate topping before chilling. It enhances all the flavors beautifully No-Bake Chocolate Peanut Butter Bars.
Storing and Reheating Tips
These bars store beautifully and are a fantastic make-ahead dessert.
- Refrigeration: Store the bars in an airtight container in the refrigerator. They will keep their perfect texture for up to 1 week.
- Freezing: These bars freeze exceptionally well! Layer them between sheets of parchment paper in an airtight container. They will keep for up to 3 months. Thaw in the refrigerator for a few hours before serving.
- Reheating: This is a no-bake treat meant to be enjoyed cold. Do not reheat them. If your kitchen is very warm, serve them directly from the refrigerator No-Bake Chocolate Peanut Butter Bars.
Easy No-Bake Chocolate Peanut Butter Bars: A 3-Layer Treat
Make delicious no-bake chocolate peanut butter bars with 3 easy layers! This simple recipe requires just 20 minutes of prep. Perfect dessert!
Ingredients
-
1 ½ cups graham cracker crumbs
-
½ cup unsalted butter, melted
-
1 cup powdered sugar
-
1 cup creamy peanut butter
For the Peanut Butter Layer:
-
1 cup creamy peanut butter
-
½ cup unsalted butter, softened
-
1 ½ cups powdered sugar
-
1 teaspoon vanilla extract
For the Chocolate Topping:
-
1 ½ cups semi-sweet chocolate chips
-
2 tablespoons creamy peanut butter
Instructions
-
Line Your Pan: Start by lining an 8×8 or 9×9 inch baking pan with parchment paper, leaving an overhang on two sides for easy removal.
-
Make the Crust: In a medium bowl, combine the graham cracker crumbs, 1 cup of powdered sugar, and 1 cup of peanut butter. Pour in the ½ cup of melted butter and stir until the mixture is fully combined and resembles wet sand.
-
Press the Crust: Transfer the crust mixture to your prepared pan. Use the bottom of a measuring cup or a glass to press it firmly and evenly into the bottom of the pan.
-
Create the Peanut Butter Layer: In a separate bowl (or using the same one, cleaned), beat the softened ½ cup of butter and 1 cup of peanut butter together until smooth. Gradually add the 1 ½ cups of powdered sugar and vanilla extract, and beat until a thick, spreadable frosting forms.
-
Spread the Middle Layer: Carefully spread the peanut butter filling over the crust layer, smoothing it out into an even layer.
-
Make the Chocolate Topping: In a microwave-safe bowl, combine the chocolate chips and 2 tablespoons of peanut butter. Microwave in 30-second intervals, stirring well after each, until the mixture is completely melted and smooth.
-
Top and Chill: Pour the melted chocolate over the peanut butter layer and spread it evenly to the edges. Gently tap the pan on the counter to remove any air bubbles.
-
Set and Serve: Refrigerate the bars for at least 2-3 hours, or until the chocolate top is completely firm. Use the parchment paper to lift the entire block out of the pan onto a cutting board. Use a sharp knife to slice into squares. For cleanest cuts, you can warm the knife under hot water and dry it quickly before each slice.